Fall colors: gold, orange, yellow, green & red.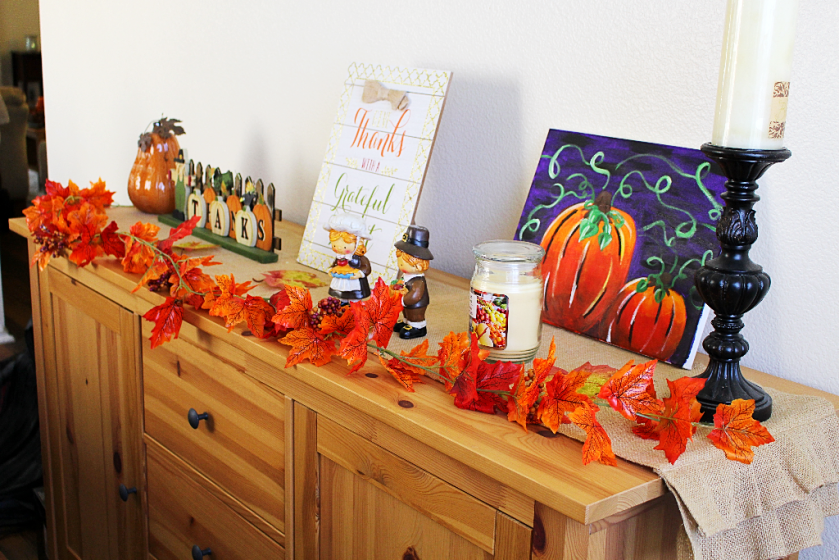
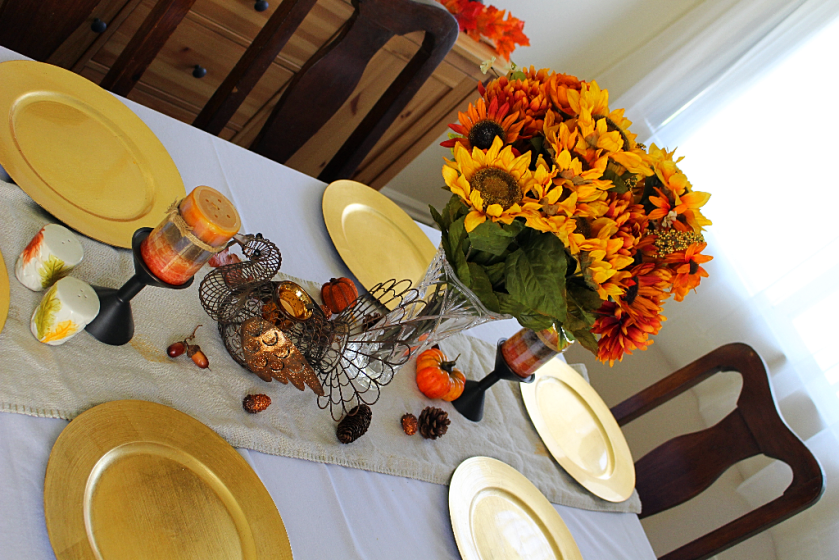
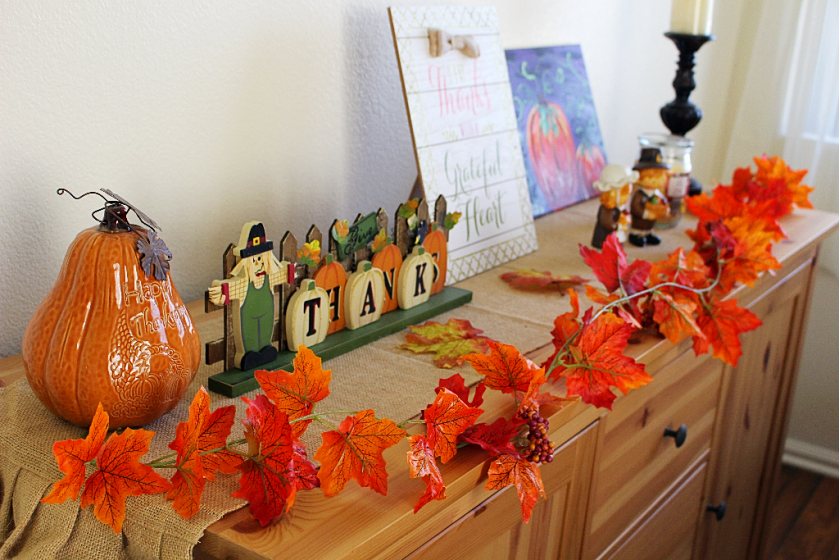
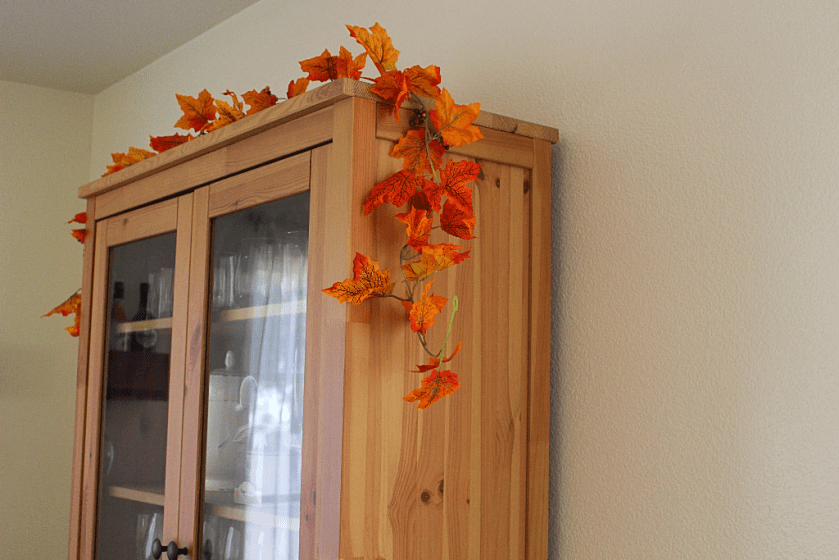
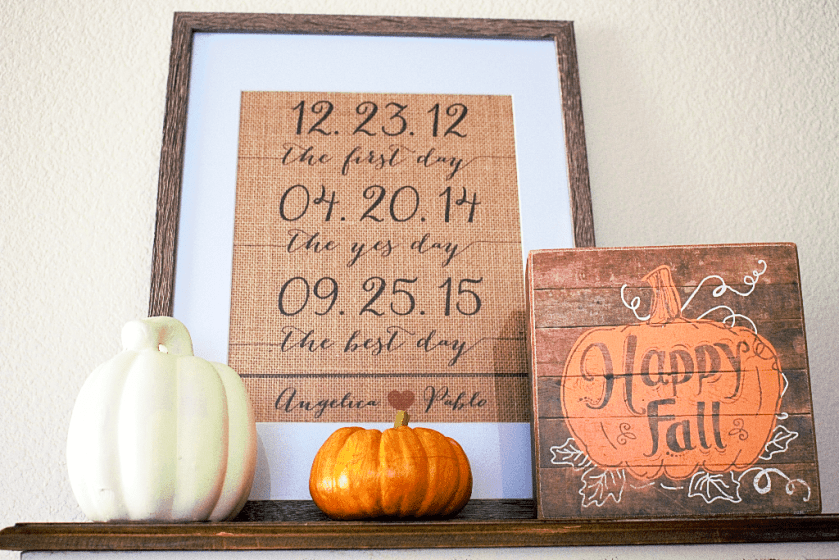
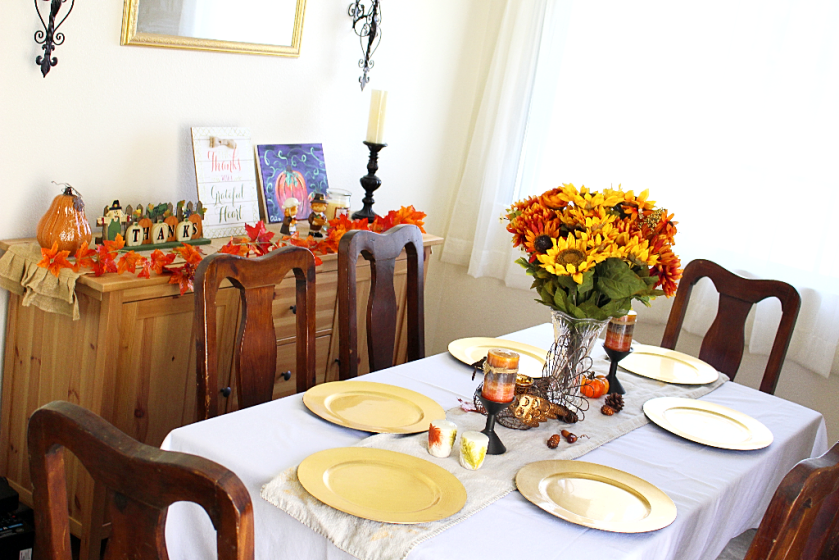

Fall colors: gold, orange, yellow, green & red.
Designing a nursery has completely evolved from when I was a kid. Nurseries used to be cartoon themed like Winnie the Pooh, Peter Rabbit, or Mickey Mouse. Bedroom decor in the 80’s and 90’s consisted of a piggy bank, a hammock for stuffed animals (aka dust collector), tacky looking wallpaper and a rocking horse. Now, with the influence of Pinterest and home decorating TV shows, nurseries have taken on a more tasteful appearance with styles that flow with the rest of the home. Some may feel disappointed that rooms no longer look like something out of a circus, but believe me, your kids won’t feel robbed of their childhood. And on the bright side, it will probably save you money in the long run since you won’t have to change much in the room as your child gets older.
The two most important decisions to make when designing any room in your home is the style and color scheme.
To make life a lot easier I recommend sticking with 5 colors.
Examples:
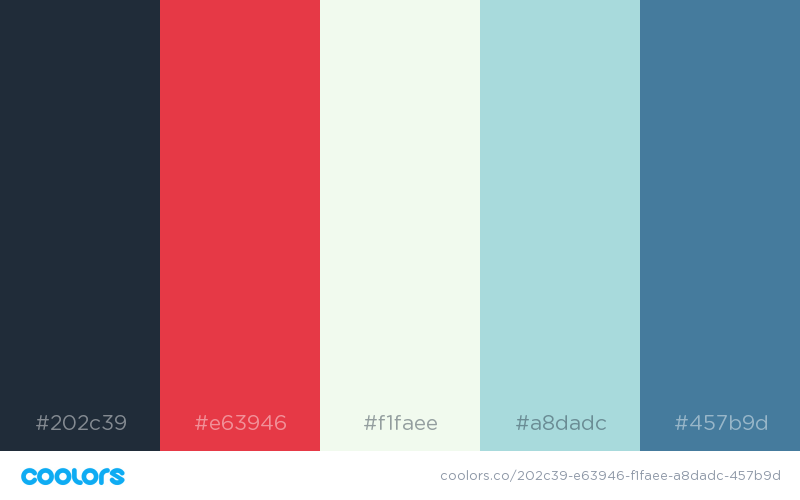

For a free color scheme generator click here. As long as you stick with a certain style and color scheme, the room will look pleasing to the eye.
Other considerations:
Don’t forget to check out how I designed my daughter’s room here.
When planning out how I would design Selena’s nursery, I had no idea what I wanted to do. All I knew was that I wanted the color scheme to be white, pink, and gold. After researching ideas on the internet, I decided I wanted to go for a shabby chic look. I’m really happy with how everything turned out and how inexpensive it was. Let me know what you think!

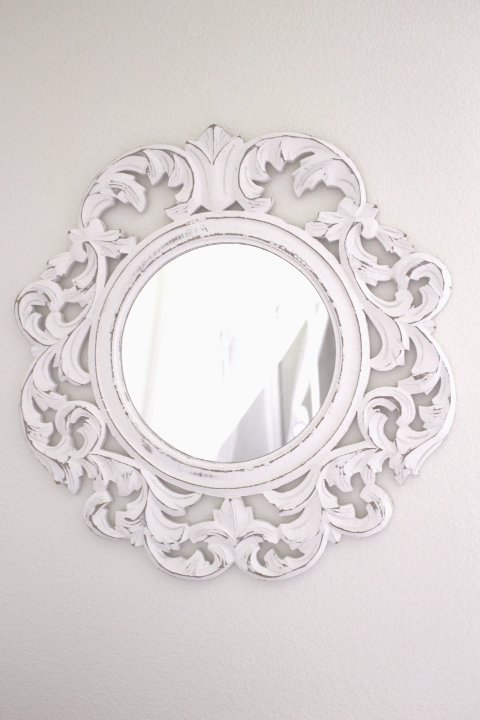
Distressed Mirror from hobby lobby. Perfect for that shabby chic look.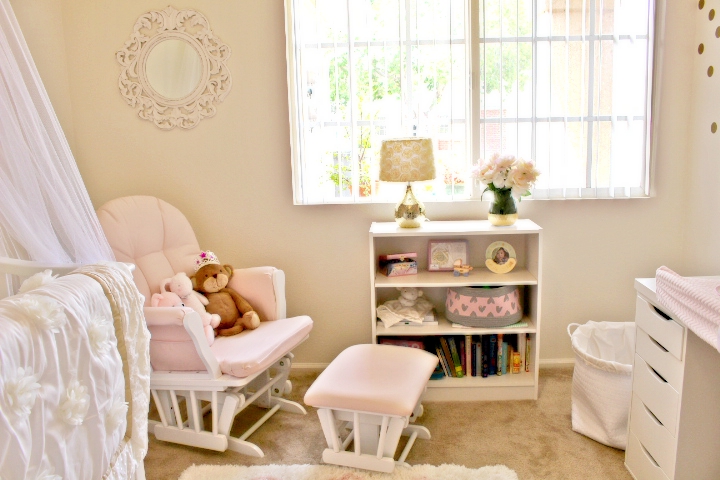

Gold vase and flowers from hobby lobby (sold separately).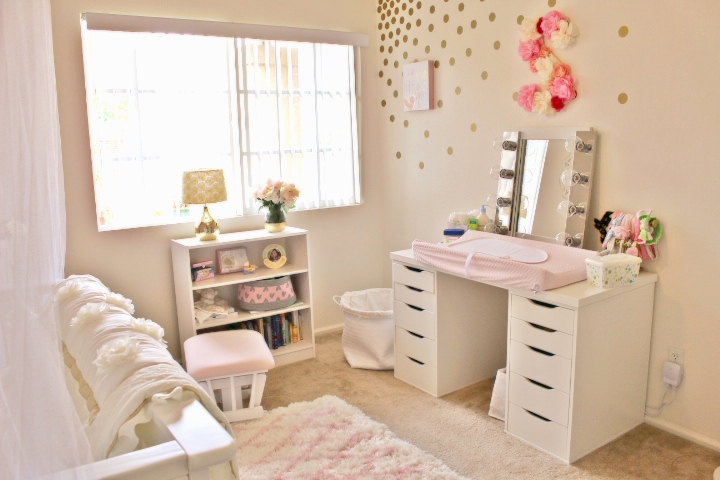
Crib- 4 in 1 Serta Bethpage from Buybuybaby.
Pink glider from Wayfair.
Let me know what you think!
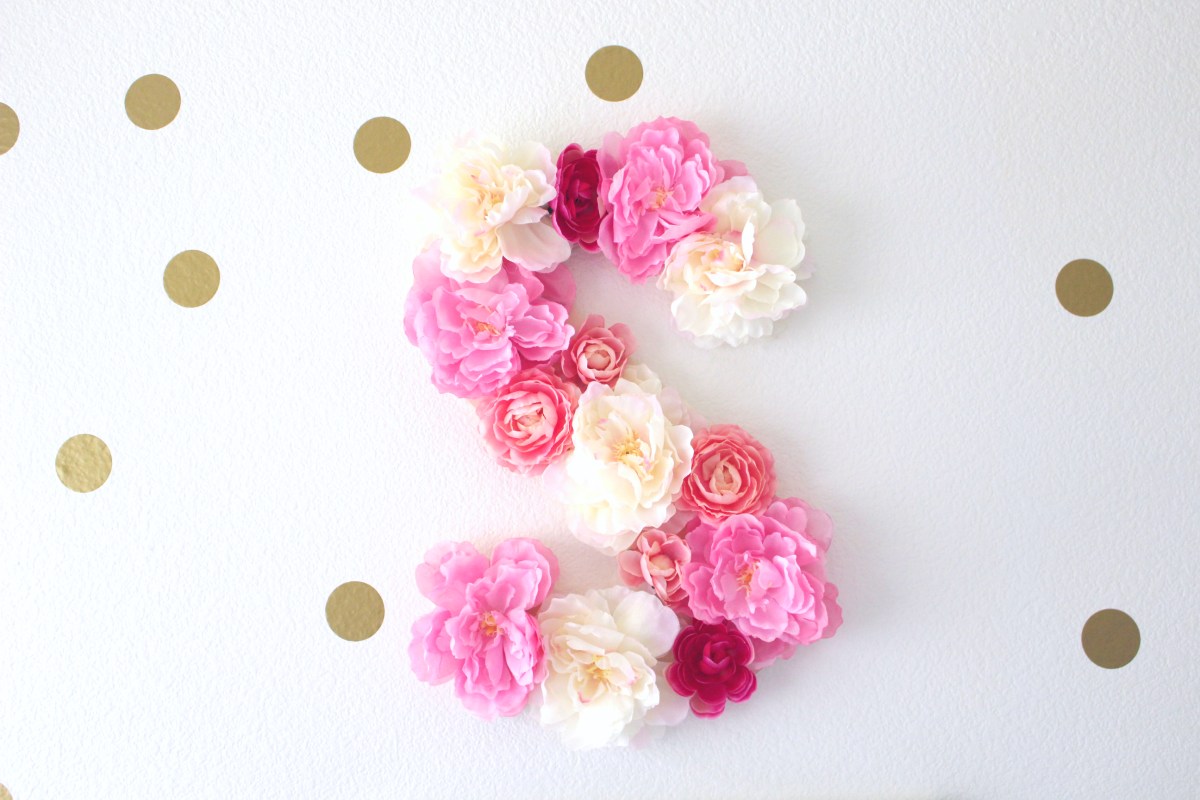
I made this floral letter for my daughter’s nursery. It adds an elegant touch to a room and is super easy to make!
Things you need:
Step 1- Gather your flowers. It’s easy to pull the flowers from the stems by hand. If needed, you may want to cut off the excess plastic on the stem so that the flower lays flat on the wood.
Step 2- Before gluing the flowers onto the wood, plan out how you want to organize them. I suggest placing the flowers onto wood as if they were glued and then take a picture of it. That way you can use the picture as a guide for when you are ready to start gluing!
Step 3- Glue the flowers on the wood. If there are any spots in between the flowers you can use any extra flower pedals to fill in the spaces.
Step 4- Hang it up!